Thursday, April 23, 2020

Should we or Shouldn't we say, Good Job?


As we are now over a month into our “new normal,” I hope you and your children have all been able to enjoy time together and find a sense of peace amidst so much change! While we are all finding our footing, I have been so encouraged seeing friends and family shed old habits that were no longer serving them, and trying to use this time to build new, more positive patterns in their life.

I am sure being at home is looking quite different for each and every one of us. However, while we are going about our days separately, I find comfort in knowing we are all going through this intense change as one. As I was thinking about our collective realignment, an idea sparked for a habit we can all try to let go of together. Specifically, one very popular phrase we can all try to let go of together.

As many of you are familiar with childcare centres, schools and parks, there is one thing you will consistently hear ring out above the rest: “Good job!” What a positive phrase... it couldn’t possibly be bad, could it? Well, it’s complicated! Of course, this is almost always stated with nothing but the best of intentions. That being said, there are so many more constructive ways we can appreciate a child’s contribution or achievement. 

In my studies, when I first heard this notion, I was confused! What is wrong with saying good job? The short answer is this: telling a child "good job” suggests that we are judging the child, rather than empowering them to reflect upon their own efforts. It tells the children in our lives to look for outside approval, versus allowing them to value their own thoughts and ideas.

Maria Montessori said, “We must help the child to act for himself, will for himself, think for himself; this is the art of those who aspire to serve the spirit.” (Education for a New World)

Our ultimate goal is always for the child to learn and grow for themselves, not because we would like them to. So, while we are all considering what habits we want to leave behind, and what habits we want to take forward with us in this brave new world, I think one of the best ones we can shed is the overuse of the uninspiring phrase, “good job!”

Here are some more creative ways to encourage and show interest in your child’s work:

“You did it!”

“How did that feel?” 

“I love the colors you’ve chosen.”

“What do you like best about your work?”

“That was really helpful!”

“Tell me about your picture.”

“Your brother looked so happy when you read him that book.”

“You tidied up everything so nice and neat.”

“It was hard, and you stuck with it!”

If you are feeling stuck in the “good job” hamster wheel, it’s a great start to find one specific thing your child did, and comment on that. Show your appreciation for how your child helped and how it made you feel. While “good job,” can be a kind thing to say, it gives your child very little to walk away with. So let’s all strive to break this habit, and find new ways to light a fire for all the children in our lives. 

“The secret of good teaching is to regard the child’s intelligence as a fertile field in which seeds may be sown, to grow under the heat of flaming imagination.  Our aim therefore is not merely to make the child understand, and still less to force him to memorize, but so to touch his imagination as to enthuse him to his inmost core.” - Maria Montessori (To Educate the Human Potential)

Happy spring to all of my MTM friends, big and small. I cannot wait until we get to work together again — hopefully soon!   ~ Ms. Janie


Wednesday, April 22, 2020

The Montessori Math World from Home

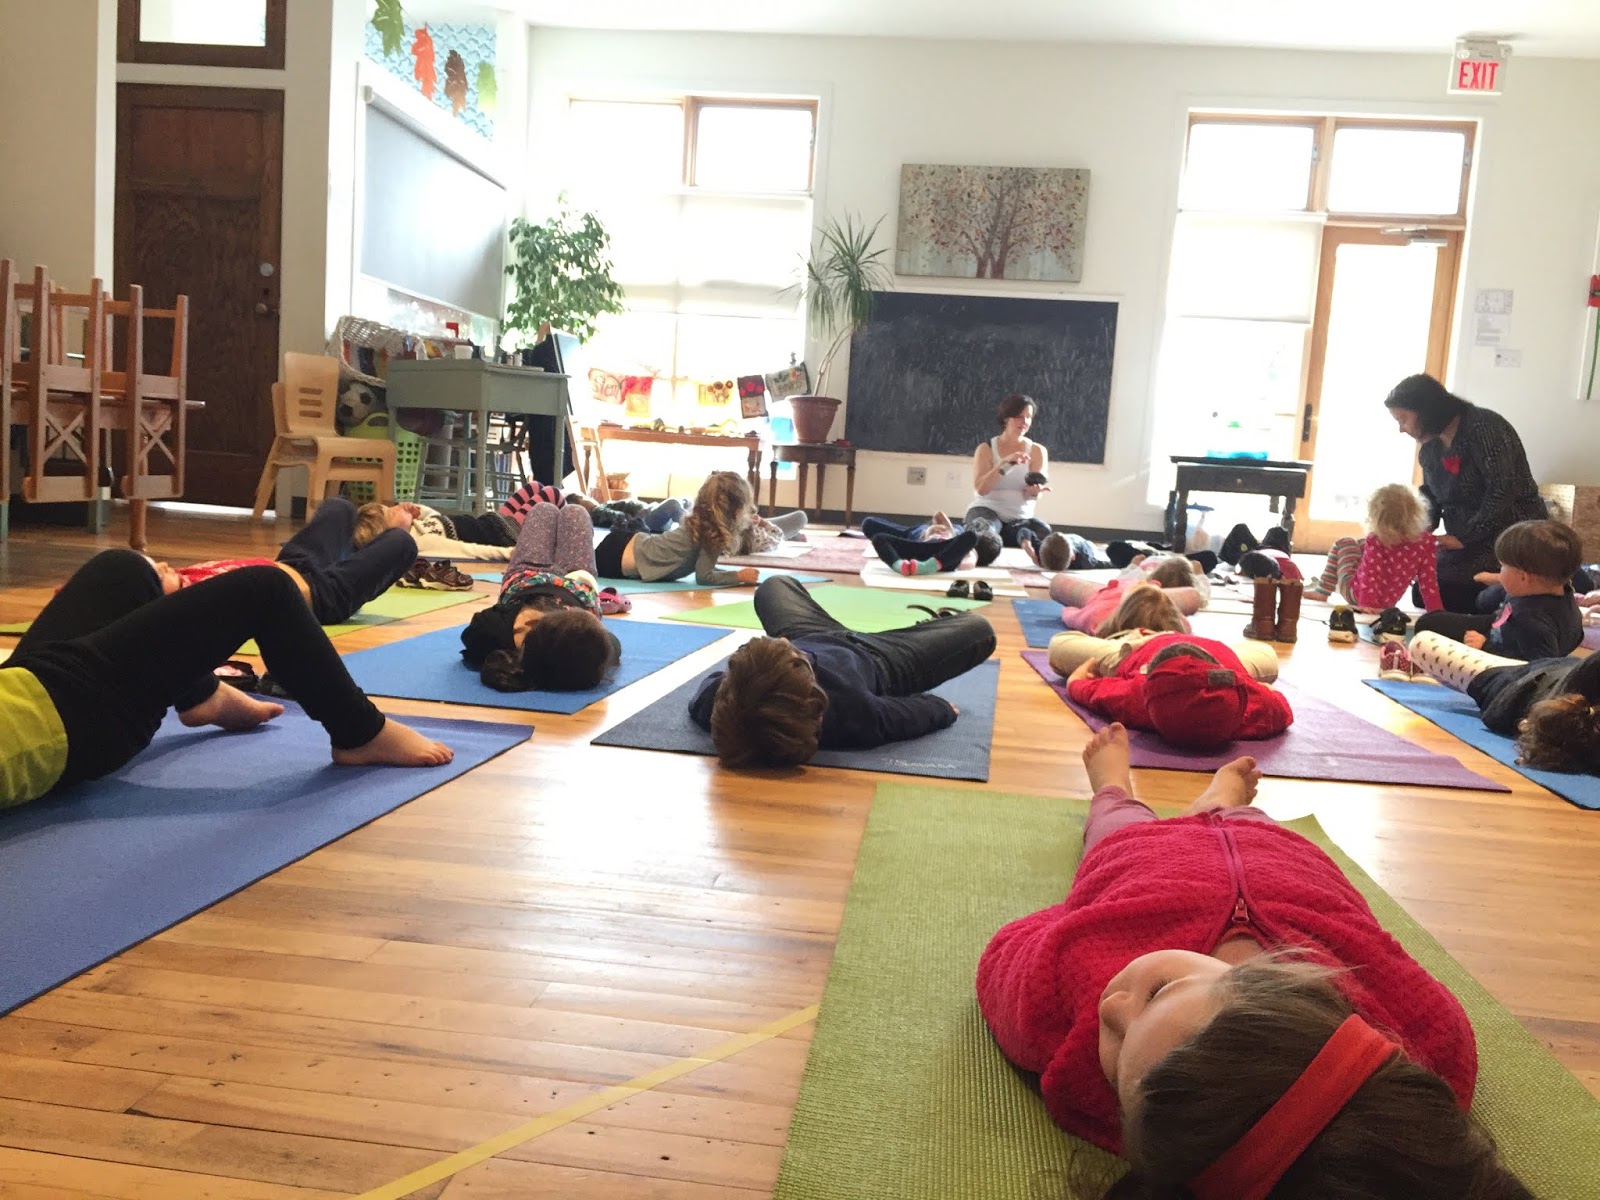
Hello Mapletree Montessori Parents!

This is Miss Jennifer. I am trying my hand at writing a blogpost.

A few weeks ago, I tried Instagram live for the first time and it was so much fun to visit with you all in your homes. I hope you and your children enjoyed doing some math exercises together with me.

I hope this post will explain some background as to why Montessori uses these math materials to promote understanding of the language of Mathematics in our young children.

The first Presentation we did together is called Sandpaper Numbers.

 We looked at how to say the number and then properly trace the number. Starting from the top, then following the number down to the bottom.

 This practical approach teaches the child to recognize the number visually. Then through hearing the name and repeating the name of the number vocally. This uses as many sense channels of learning for the child is absorbing their environment using any many senses as they have.

 Through tracing lightly over the sandpaper material the child feels the correct shape of the number and can self correct if needed to follow the number flowing from top to bottom slowly.

In using the first two dominant hand fingers and tucking the rest of the fingers down, the child is preparing their fine motor muscles of their hand, thus making them stronger so as to be able to hold and use writing tools. This helps the child to print the numbers before they have the fine motor skills to write them successfully on their own. The sandpaper numbers can be used with children as young as two and a half years old, up to five years old.

If you would like to make these materials for use at your home.

Materials needed:
Cardboard or thick cardstock
White glue
Sand or Salt (small fine grain) or glitter glue
Black marker

Method:
1)    Cut out a rectangle about the size of an adult handprint (fingers closed).
2)    Draw numbers 0-9 large and shaped like the numbers in the following exercise: cut-out numbers and counters.
3)    Colour the number in
4)    Trace a good amount of glue on the numbers you have drawn
5)    Sprinkle on sand or salt (or glitter glue as last choice)
6)    Shake off excess
7)    Allow to dry overnight or until fully dry before use 

Step 1                                                           Step 2


Step 3


I then showed how to allow the child to use this material to count on objects.
The Procedure:
1)    Ask the child… What number is this? (3)
2)    Wait for a reply. If they don't know, that is totally okay. Just tell them the answer and smile. (it is the number 3)
3)    Show them how to trace the number. You trace first with your first two fingers and start at the top and work your way down to the bottom.
4)    Making sure they are using their “bunny ears” first two fingers up, the others are tucked down under their thumb, have them trace the number. If they are having trouble tracing on their own you can place your hand over theirs and guide them. (they trace 3 and say 3)
5)    Have them count out the amount of objects for that number. Example: 3 the child counts out three things. It really helps if the objects are of similar size and shape, like stones, coins, etc and they can all fit into one small basket or bowl.
6)    This work is done at a table.

Please be very patient. It is totally okay to just do one number at a time over many days, if the child is young. If the child is showing interest in doing more, add another number. Let them count as long as they are interested.

 If they are showing that they are getting to be not interested or tired. Stop. Acknowledge their very good work. Let them know that they can do this work again another time with you. Let them know that this was fun for you too.
We are laying a foundation of love for Math. We have to be careful to not work the child too hard at first. Let their interest and happiness guide you in playing this Game, while you work with them for as long as they want. Some will work at this for 5 minutes; others for up to 20 minutes.

Most of our 3 year olds love this work and will happily do numbers 1-5 easily. It is working the understanding of 6-9, plus the concept of 0 that will be a challenge for the child. Most of our 4 year olds have mastered this work, but love doing it as a review. Also to show how smart they are at knowing their numbers.

The game with the basket I was describing is like this;
Materials:
Basket or small bag or small bowl
Objects or small toys that will be able to fit into the basket

Method of Game:
1)    Show and say the number (3) Child takes the number with them to look
2)    Ask child to “go to find three things and put them in their basket”
3)    When the child brings back the 3 objects, have them count them out on the table in front of you. It is totally okay if they get the answer wrong… just show and ask them the number again and send them out to find more.

Extension for older/ elementary children:
1)    Same as steps 1-3 ( the number now stays on the table with you)
2)    Ask: How many will we have if you add (3) more?
3)    Have child find (3) more and add them to the objects on the table
4)    Say out loud: First we had (3) then we added (3) more now we have (6)
5)    So 3+3=6

REMEMBER that the child can make the numbers out of playdough or clay. Just have the number card nearby for the child to copy.


The second Presentation we did together is called Numbers and Counters.
This work is for ages three and a half to four and five year olds.

 This work builds on the visual recognition of the number as well as the amount needed for each number.

The next building block to learn is how to arrange the numbers into what is known as number order. We were working before with sandpaper numbers in an isolated manner. This work puts the numbers in order. It works with teaching the child how to remember, “what comes next?” and also “how many?”. 

The Montessori method uses the child‘s sense of wonder at putting things in order then mixing them up and then putting them in order again to very good use. The child would be well indoctrinated in order versus mixed order through the use of the sensorial materials. The first presentations a child receives, in the beginning of the school year, are cylinder blocks using the order versus mixed order method.


If you would like to make this material for your home.

Materials:
 thick cardstock paper
55 small items to arrange and count with
(coins, poker chips, pompoms, large beads, dried large beans, bingo chips, marble glass drops, stones, etc.)
Small rug (or small baby blanket)
2 Baskets, or small boxes, or bowls

Method:
1)    Make Number cards (½ the size we made above)
2)    Make numbers 1-10 on cardboard or cardstock. Just write the number the same as in the picture below (this is what your sandpaper numbers should look like as well)
3)    Place numbers into a small box, basket or bowl.
4)    Have the 55 objects for counting in another container
Note: you can cut out the numbers or not.


The Procedure:

1)    Lay out the number cards in mixed order on the bottom of the mat.
2)    Child finds number 1, puts it at the top right hand corner.
3)    Child finds and counts one object and places it under the number one card.
4)    Child finds number 2, places their left hand beside the number one already placed, makes a full hand space, then places the number two card down on the mat.
5)    Child finds and counts two objects and places side by side, (as if they are holding hands walking to the park) under the number two card.
6)    Child finds number 3, makes a hand space, places it, then finds three objects and places them in a group of two with one underneath (should look like a triangle)
7)    Child does the same for the number four, it‘s objects should look like a square underneath the number four card
8)    Child continues up to the number 10. Making the pattern in the picture above.

Note: this work usually takes a long time to lay out on the mat, some children will need encouragement to start, to continue, and to finish to the number ten. This can be 30 minutes or take up to an hour, or more. Just be patient and let them work. This is developing the ability to focus and concentrate to be able to complete. They can take a snack break and come back to this material. When they complete this work please make a good acknowledgement for their time spent and hard work accomplished. They will be intensely proud of themselves when they can finish and then even more so, when this work is so easy. They learn, through this work and others, that sometimes things take a long time to do, or that things may take many days of doing to understand or may take practice to become competent. All of these are great qualities to instill in the child to understand hard work will help them in the future.

Game for this material:
Parents or older sibling can ask the child to find and point to the number 3.
Ask, “can you find (3)?”
When the child does, acknowledge them and then ask, “can you count it for me?”
Acknowledge and play the game until all numbers have been counted.

Older Children can learn about Odd and Even numbers with this work. I will try to show this part of this work in another instagram live.

I really hope that this blogpost explains any confusions that may have happened during my first instagram live. Most of the children can use the above presentations. Please have fun working with this work and learning how smart your children really are! It is really amazing how fast they learn these Math concepts and language.


Have Fun!

Ms Jennifer

Tuesday, April 21, 2020

The Power of Yoga

Yesterday, I came back after taking a week off.  Since COVID-19 I've been teaching my children online.   I've been feeling like I needed to stay connected to my children and families.  I also realized, after a dear friend became sick with COVID-19 that I needed some time for myself.  That getting up everyday and being cheerful online is sometimes challenging and that I needed to cut myself some slack.       And then, as if the world wasn't already feeling like a very fragile place,  our tiny province experienced unimaginable tragedy this past weekend.  Nova Scotia is place of kindness and generosity.  The people are warm and it feels like coming home when you land here. There is so much hurting right now.  So much pain.  
I knew I was going online to teach on Monday.  How was I going to pull it together to be present for my children for Yoga.  I mean really present.  I decided I would focus on Sunshine and affirmations and breakdown a Sun Salutation.  I started the class with a Sunshine meditation.  Sarah Jane Hinder has done a beautiful job writing books about yoga for children.  They illustrations are stunning and the books are vibrant with movement, color and stories to go along with the yoga poses.  I picked up my copy of Hello Sun at Bhavana Boutique. 
I think meditations are very important for children.  In the winter, I have a meditation called the melting snowman.  The children love it. It's important for children to find stillness.

 Sunshine Meditation
Lie down on your back and make yourself comfortable and still.  Close your eyes, take a big breath in, and slowly breath out. 
Let your body feel soft and relaxed.  Imagine you are floating on a very big, fluffy cloud.  You can hear the birds tweeting, the hum of buzzing bees, and the flutter of butterfly wings.  Imagine the warmth of the sun on your face.
with your eyes closed, slowly start to rub your hands together and feel them getting warmer.  Imagine the energy from the golden sun.  Place your hands on your tummy.  What do you feel?  Move your hands to kyour chest and fill your heart with the sun's warm, yellow light.  Can you feel your heart beating?  Feel the warmth spread like an orange glow across your arms and down your legs.  Breath in the light and think, "I am love."  Feel the sunshine's rays warming your body.  You are shining bright.  Breathe in the sunlight and think "I am sunshine."
Let's wake up your body by wiggling your fingers and toes.  Lift your arms up to the sky and then reach them back behind your head.  Point your fingers and toes and have a big stretch and a yawn.  Bring your knees up to your chest and give yourself a big hug, rocking side to side,  Slowly roll onto your right side and then quietly come to a seated positions.  Open your eyes and feel ready for the new day.  Breathe in and think "I am Happy."  ~from  Hello Sun by Sarah Jane Hinder
 Oh my goodness that meditation was so good to start off with yesterday.  It was so uplifting and just what was needed.  Next in our class we had a tune in and did some singing and chanting.  We then went on to do our Sun Salutations and I talked about where Sun salutations come from and why we do them.  We read Hello Sun and then I reread the story and we moved through the Sun Salutation Story for our bodies.   we finished up our class with fly like a butterfly and Savasana.


Yesterday I finished our class up in Savasana with the affirmation card, Light is my Power.
I am a shining light.
I am bright, 
I am glowing, 
I choose to live in the light of love.
The Questions I left my children with were, "how did you shin your light today?" "How did it make you feel?"
Namaste 💗

Thursday, April 16, 2020

Reading work and Bunny Baskets

 Maria Montessori once said, "The goal of early childhood education should be to activate the child's own natural desire to learn".   I've been thinking about that a lot these last few weeks as I move through my days and think about what I will teach on line with my children next.  
It's been tricky transitioning to online teaching.  Lots of things to work out such as camera and platform I want to use that makes the most sense and is easy to use for the parents and children.  We've done a lot through our school Instagram account (michellesmapletree) .  Teaching online has allowed me to do a few things I haven't been able to do, such as a baking lesson.  I find this really challenging in our normal set up as so many little hands want to be in on the action and then someone doesn't get a turn.  Moving this to as live video has been great because the children can participate from their own home with their own ingredients and also they can adapt the recipe to meet their own food sensitivities.  The baking sessions have been well received.  While the the actual food is baking I stop and read a story to the children.  I feel very connected during this time and it has been such a big lift to not only me but my children and their parents as well.
So we've done language lessons, math lessons, baking, yoga and art!  Before Easter we did a live session in art making our own paper mache Easter  Baskets. 
Paper Mache Materials

I love how the baskets have turned out.  The children have made Dinosaur Baskets, cat baskets and Easter Egg Baskets.  Each one was different and each one was beautiful. 
Dinosaur Baskets

  
Cat Basket
Easter Egg Bunny Basket

Wednesday, April 8, 2020

Dog Days and Searches

Ms. Madeleine's dog Oliver in his Happy Place

This break has given many of us extra time to spend with our families. I am grateful for having more time to spend with my 5 year old dog, Oliver. Now that it is has started to get a bit warmer, he has been resuming his duties as "paw patrol". We decided to move around some furniture so that he can look out the window to supervise. He also likes to go around the house finding things, usually a treat or a toy. It reminds me of our friends at school. If something is missing in the classroom, it's quick to find helpers since everyone is eager to help! I came across a "Cherche et Trouve"" (Search and Find in English) that reminded me of all our treasure hunters. The children are always eager to learn something new, especially different languages. We have some families who speak French as well (did you know we have one friend who speaks 3 languages?). 

 
Search and Find Treasure Hunt
I also found this one for all our dinosaur lovers! (I am pretty sure one of the children knows all these dinosaurs by heart!) * You know who you are!!

Here's what to do:

1. Cut out all the dinosaurs
2. Hide the dinosaurs
3. Use the list to check off the ones you've found (this sheet could be put in a page protector if you'd like to reuse it again)
4. If you make two copies of the second page, this could turn into a matching game or it could turn into a memory game for one or two people! (I would recommend gluing it on construction paper so they can't see through)

Let me know what you find on the nature walk or how you found the dinosaur game :)

~ Ms.Madeleine

Wednesday, April 1, 2020

Oatcake Magic

Maple Tree  Oatcakes
PREHEAT OVEN to 350 Degrees 
3 Cups Oats
11/2 Cups All Purpose Flour
1/2 Cup Brown Sugar
1/2 tsp Baking Soda
1/2 tsp Salt
2TBS Chia Seeds
1/4 Cup Hemp seeds
1/4 Cup Flax Seeds 
1/3 Cup Sunflower Seeds
1/3 Cup pumpkin Seeds
1 Cup Cold Butter (shortening, lard)
1/2 Cup or more of Ice water

Mix the dry Ingredients together.  Cut in the Butter or cut up the cold butter  and add it in with your hands.  Mix it up until it looks like the size of small peas.  Next add the ice water a little at a time until it comes together in a ball when you squeeze it in yor hands.  
Pour your mixture out on a table and pat it into a rectangle.  Cut your rectangle into square and the triangles or whatever shape you like.  Bake for about 15 minutes maybe longer but check them first.  They should be a golden color.  Cool on a rack and enjoy with your mom and Dad! 

Today was another great online live session of baking and stories with my preschoolers.  Honestly, these sessions have been so up lfting .  I am loving the creative outlet and baking has been so great because if feels very one on one even though so many are coming online to the session.  I really look forward to planning the next class each day and I love how connected we have become through sharing our pictures and stories around these activities.
Practical life work.  Great job Flynn and Mila!

I am also learning so much about technology.  Isn't it great when you learn how to make lemonade out of lemons!
Happy Baking everyone!